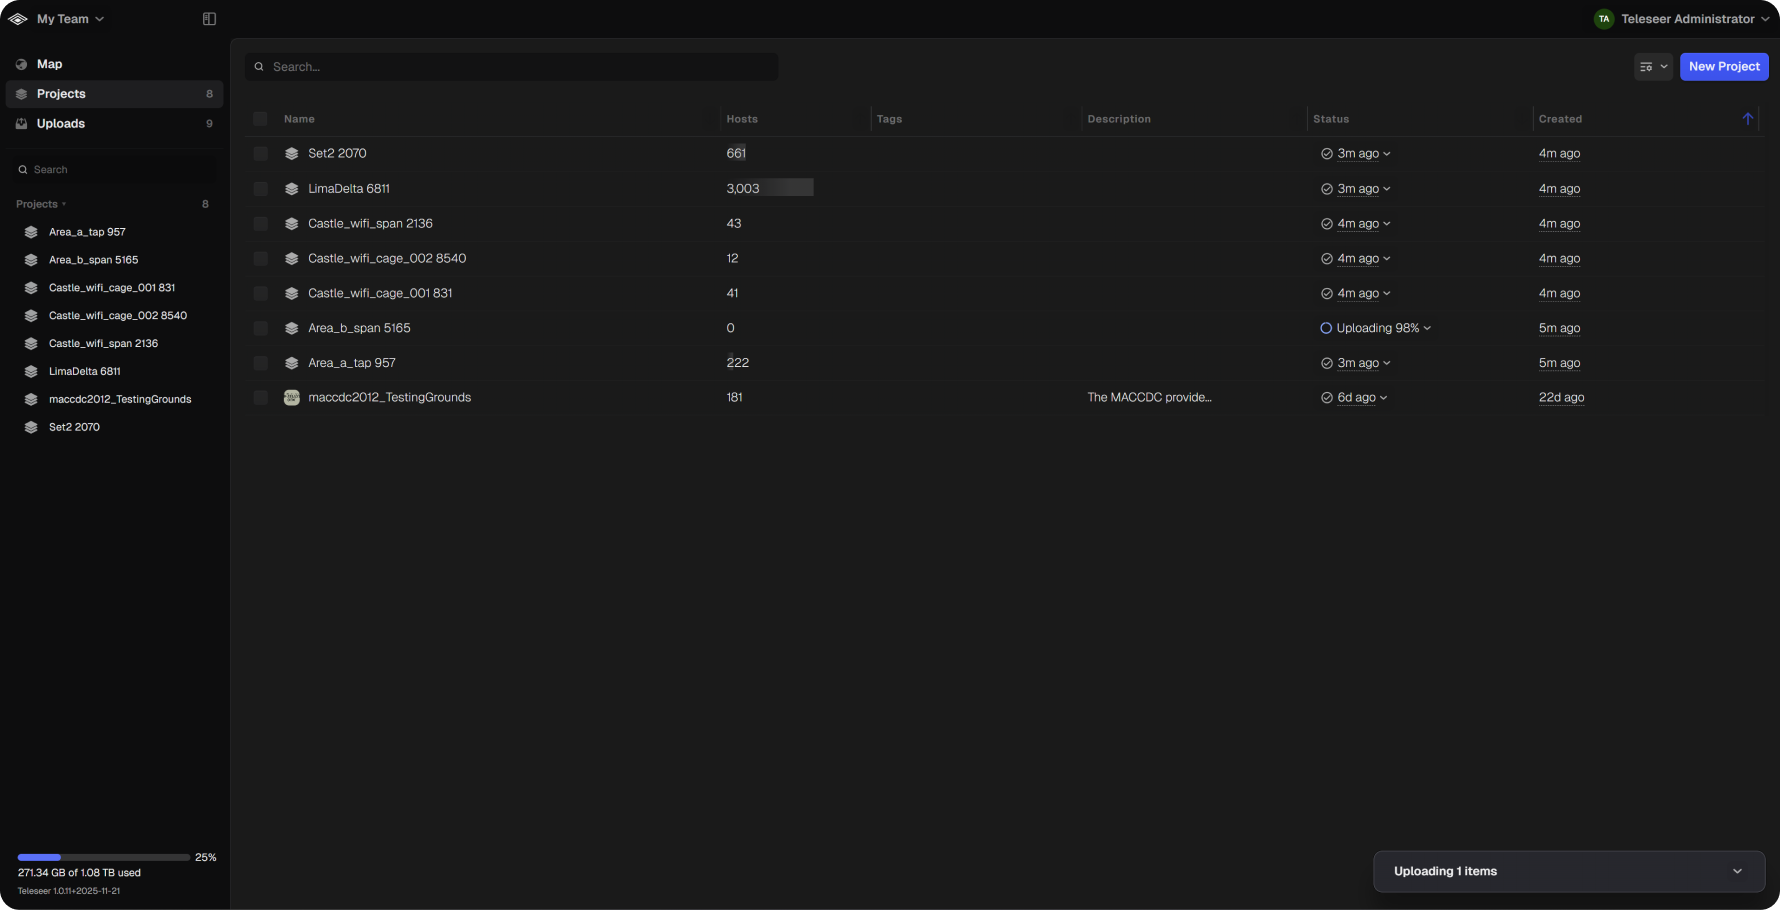
The Projects panel displays all projects within the current tenant workspace.
Creating Projects
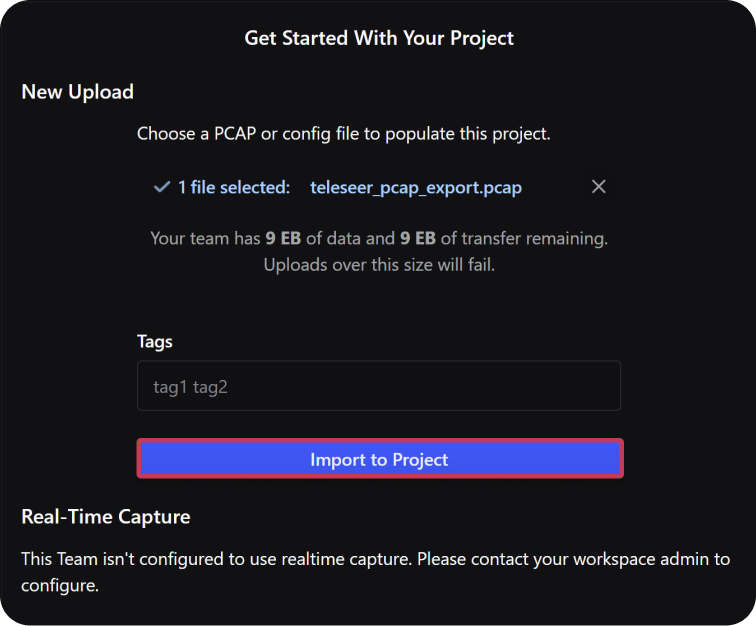
Projects can be created by uploading a file and selecting Create project for upload or by selecting the New Project button.
Note: When a new upload is submitted, Create project for upload is selected by default.
New Project Button
When a project is created by selecting the New Project button, the New Project dialog will appear.
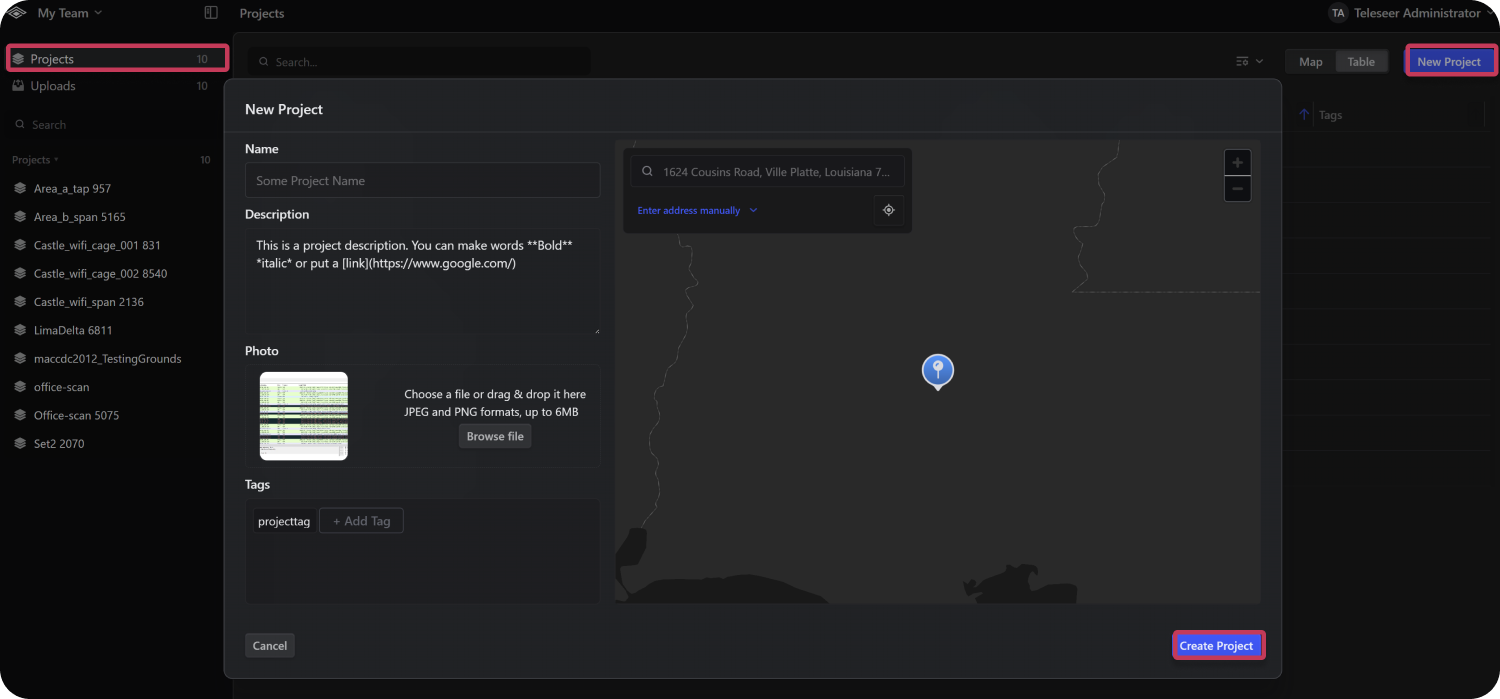
- Navigate to the Projects panel in the workspace.
- Select New Project.
- Fill in the Project Name, Description, Photo, Location, and any desired Tags.
- Select Select Files and add any desired upload tags.
Note: The project Description field supports Markdown.
Projects Listing
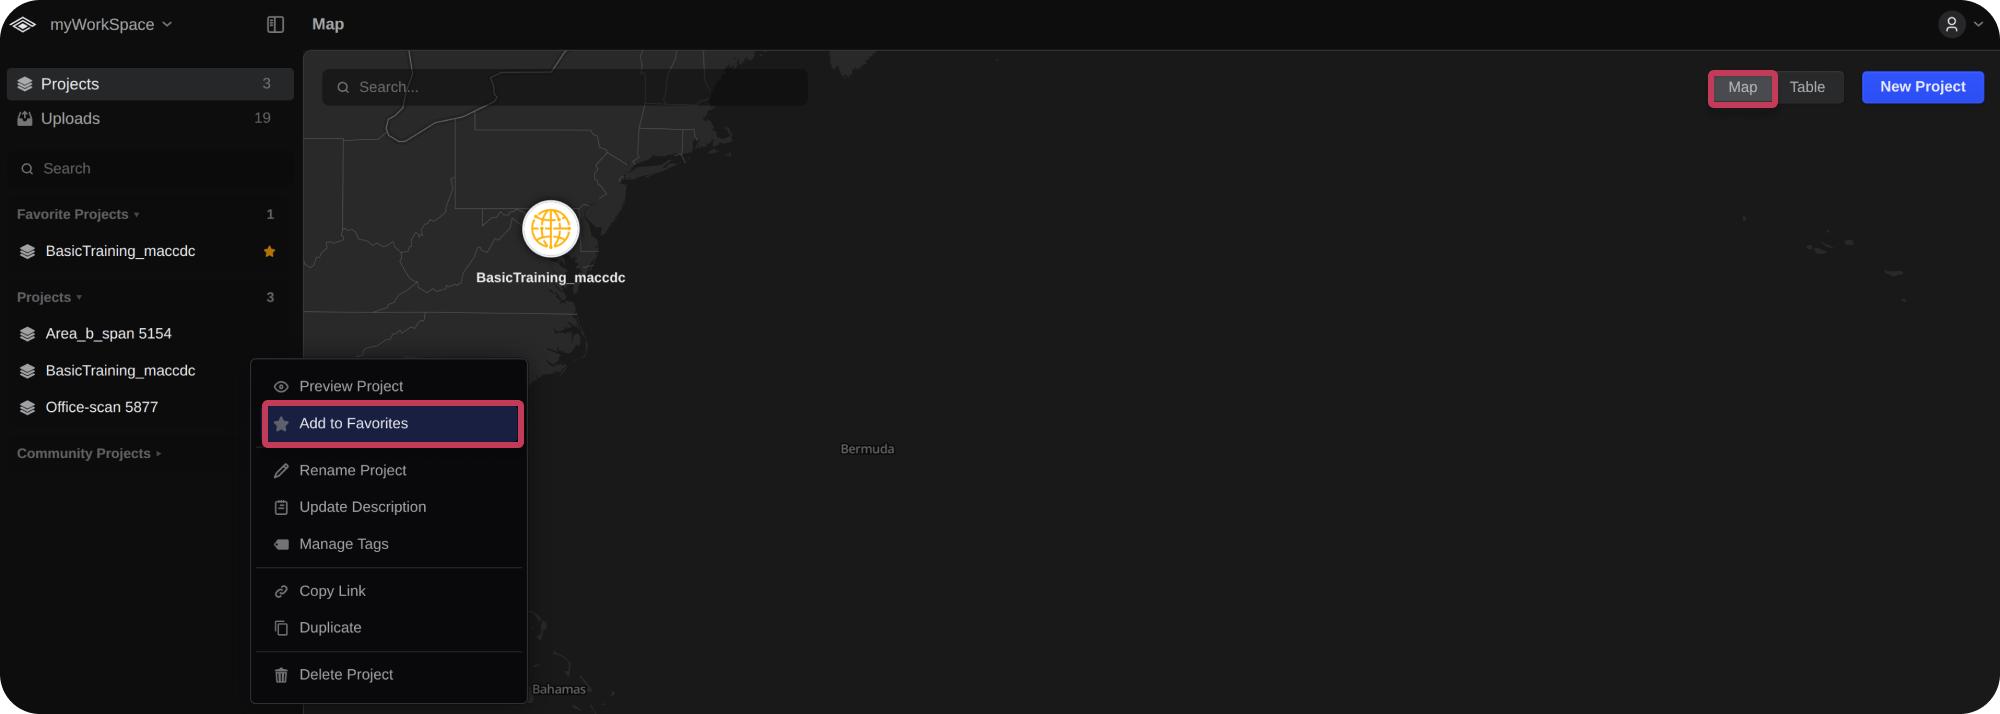
Projects appear in the navigation bar, making it easy to find and view projects while working in the map or uploads panel. To favorite a project, select ••• → Add to Favorites.
Adding Project Information
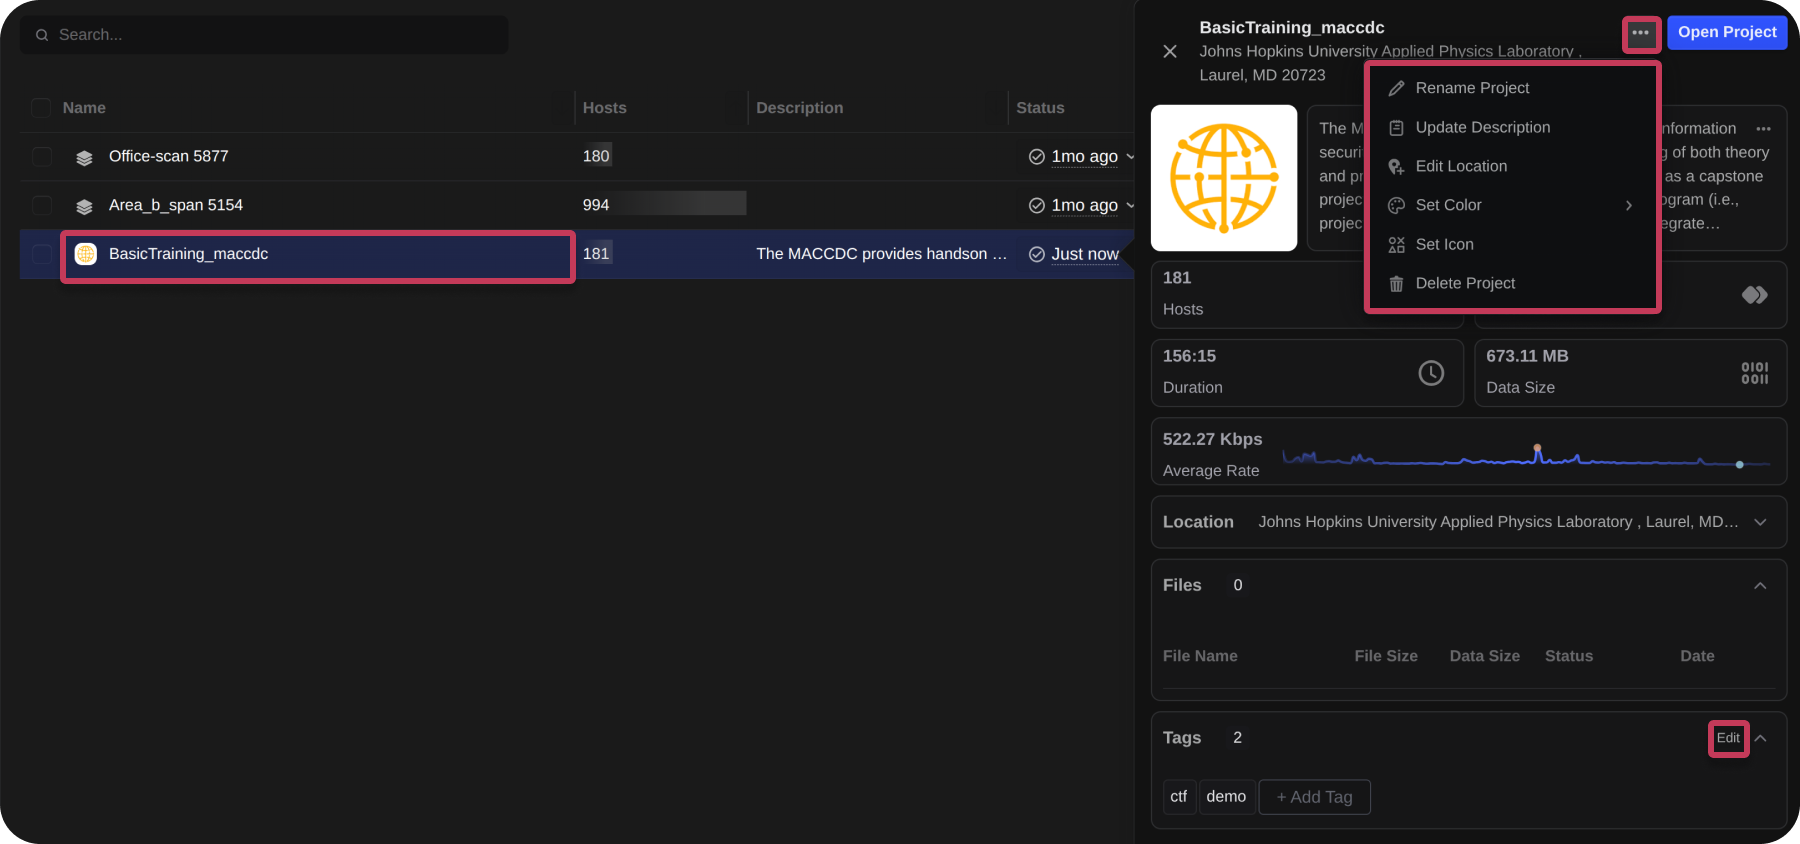
To view or edit additional details, select a project from the table. From the project's detail panel, you can add an icon, notes, a location, and tags.
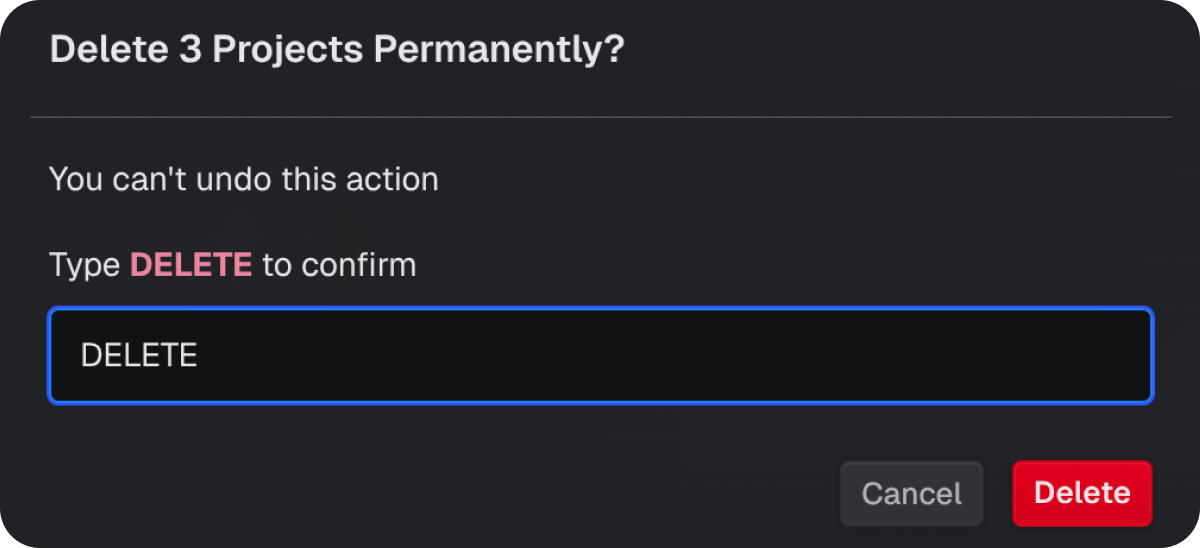
Deleting Projects
- Select the checkbox(es) next to one or more projects.
- Select Delete
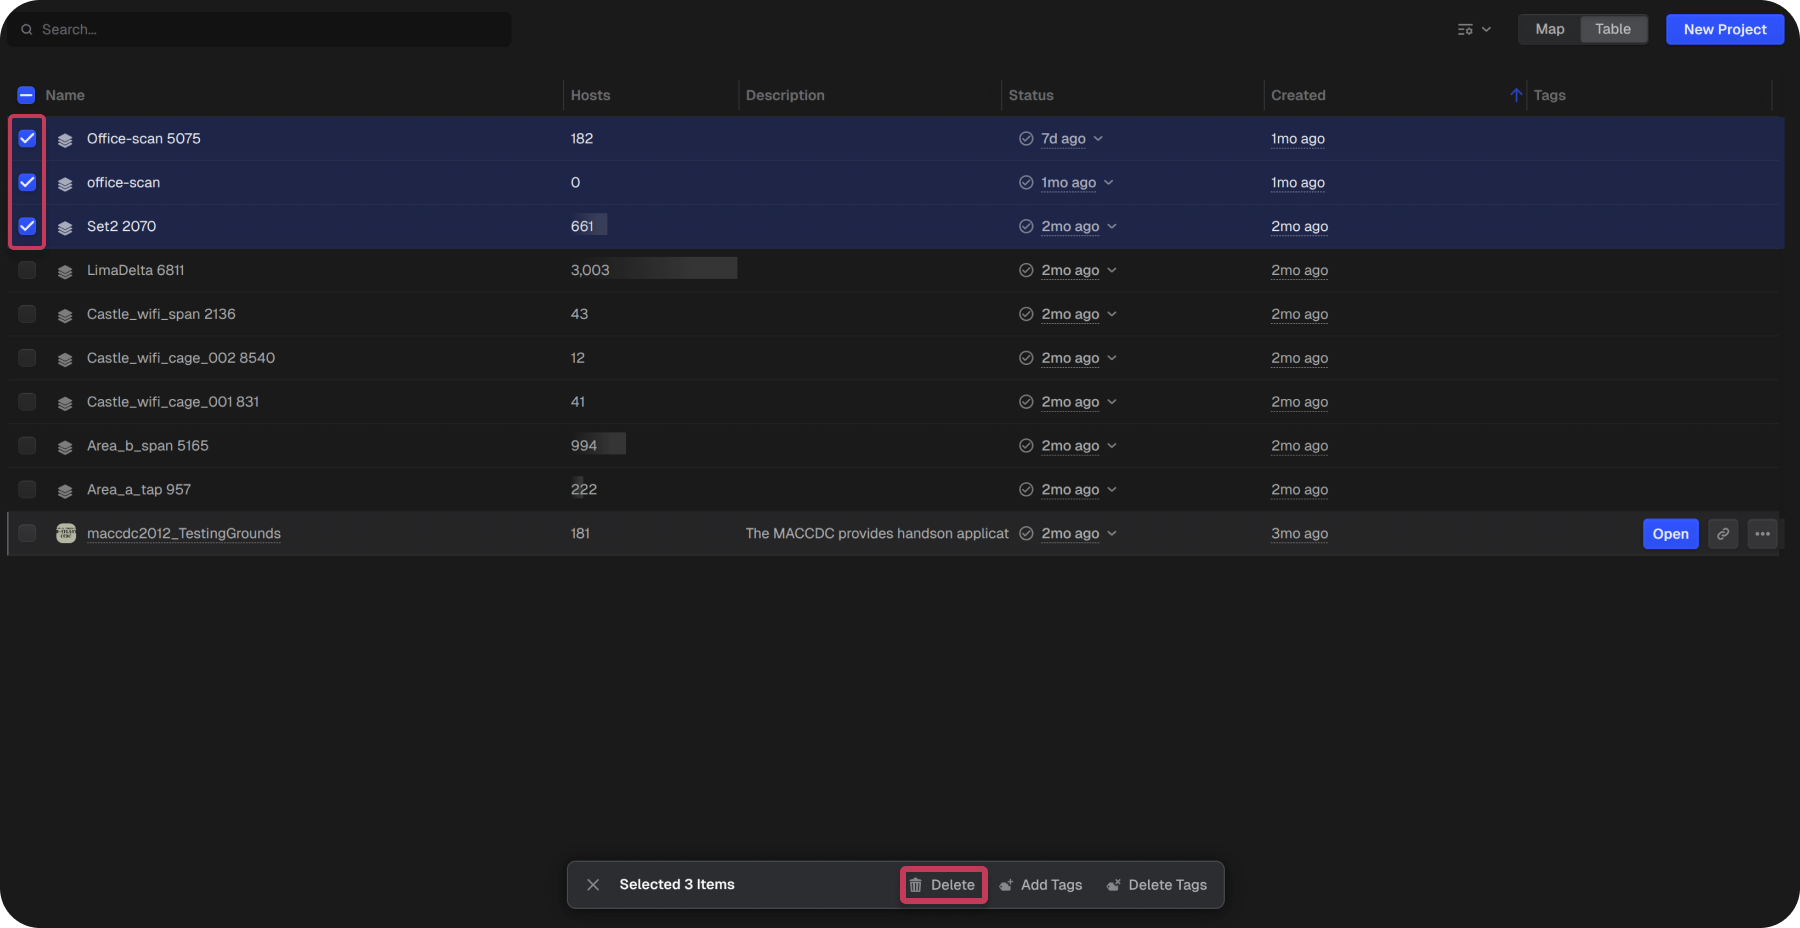
- Enter the confirmation text
- Select Delete