Hosts within the topology can be moved and manipulated to create the most desirable topology layout.
To modify the topology, users must first enter edit mode.
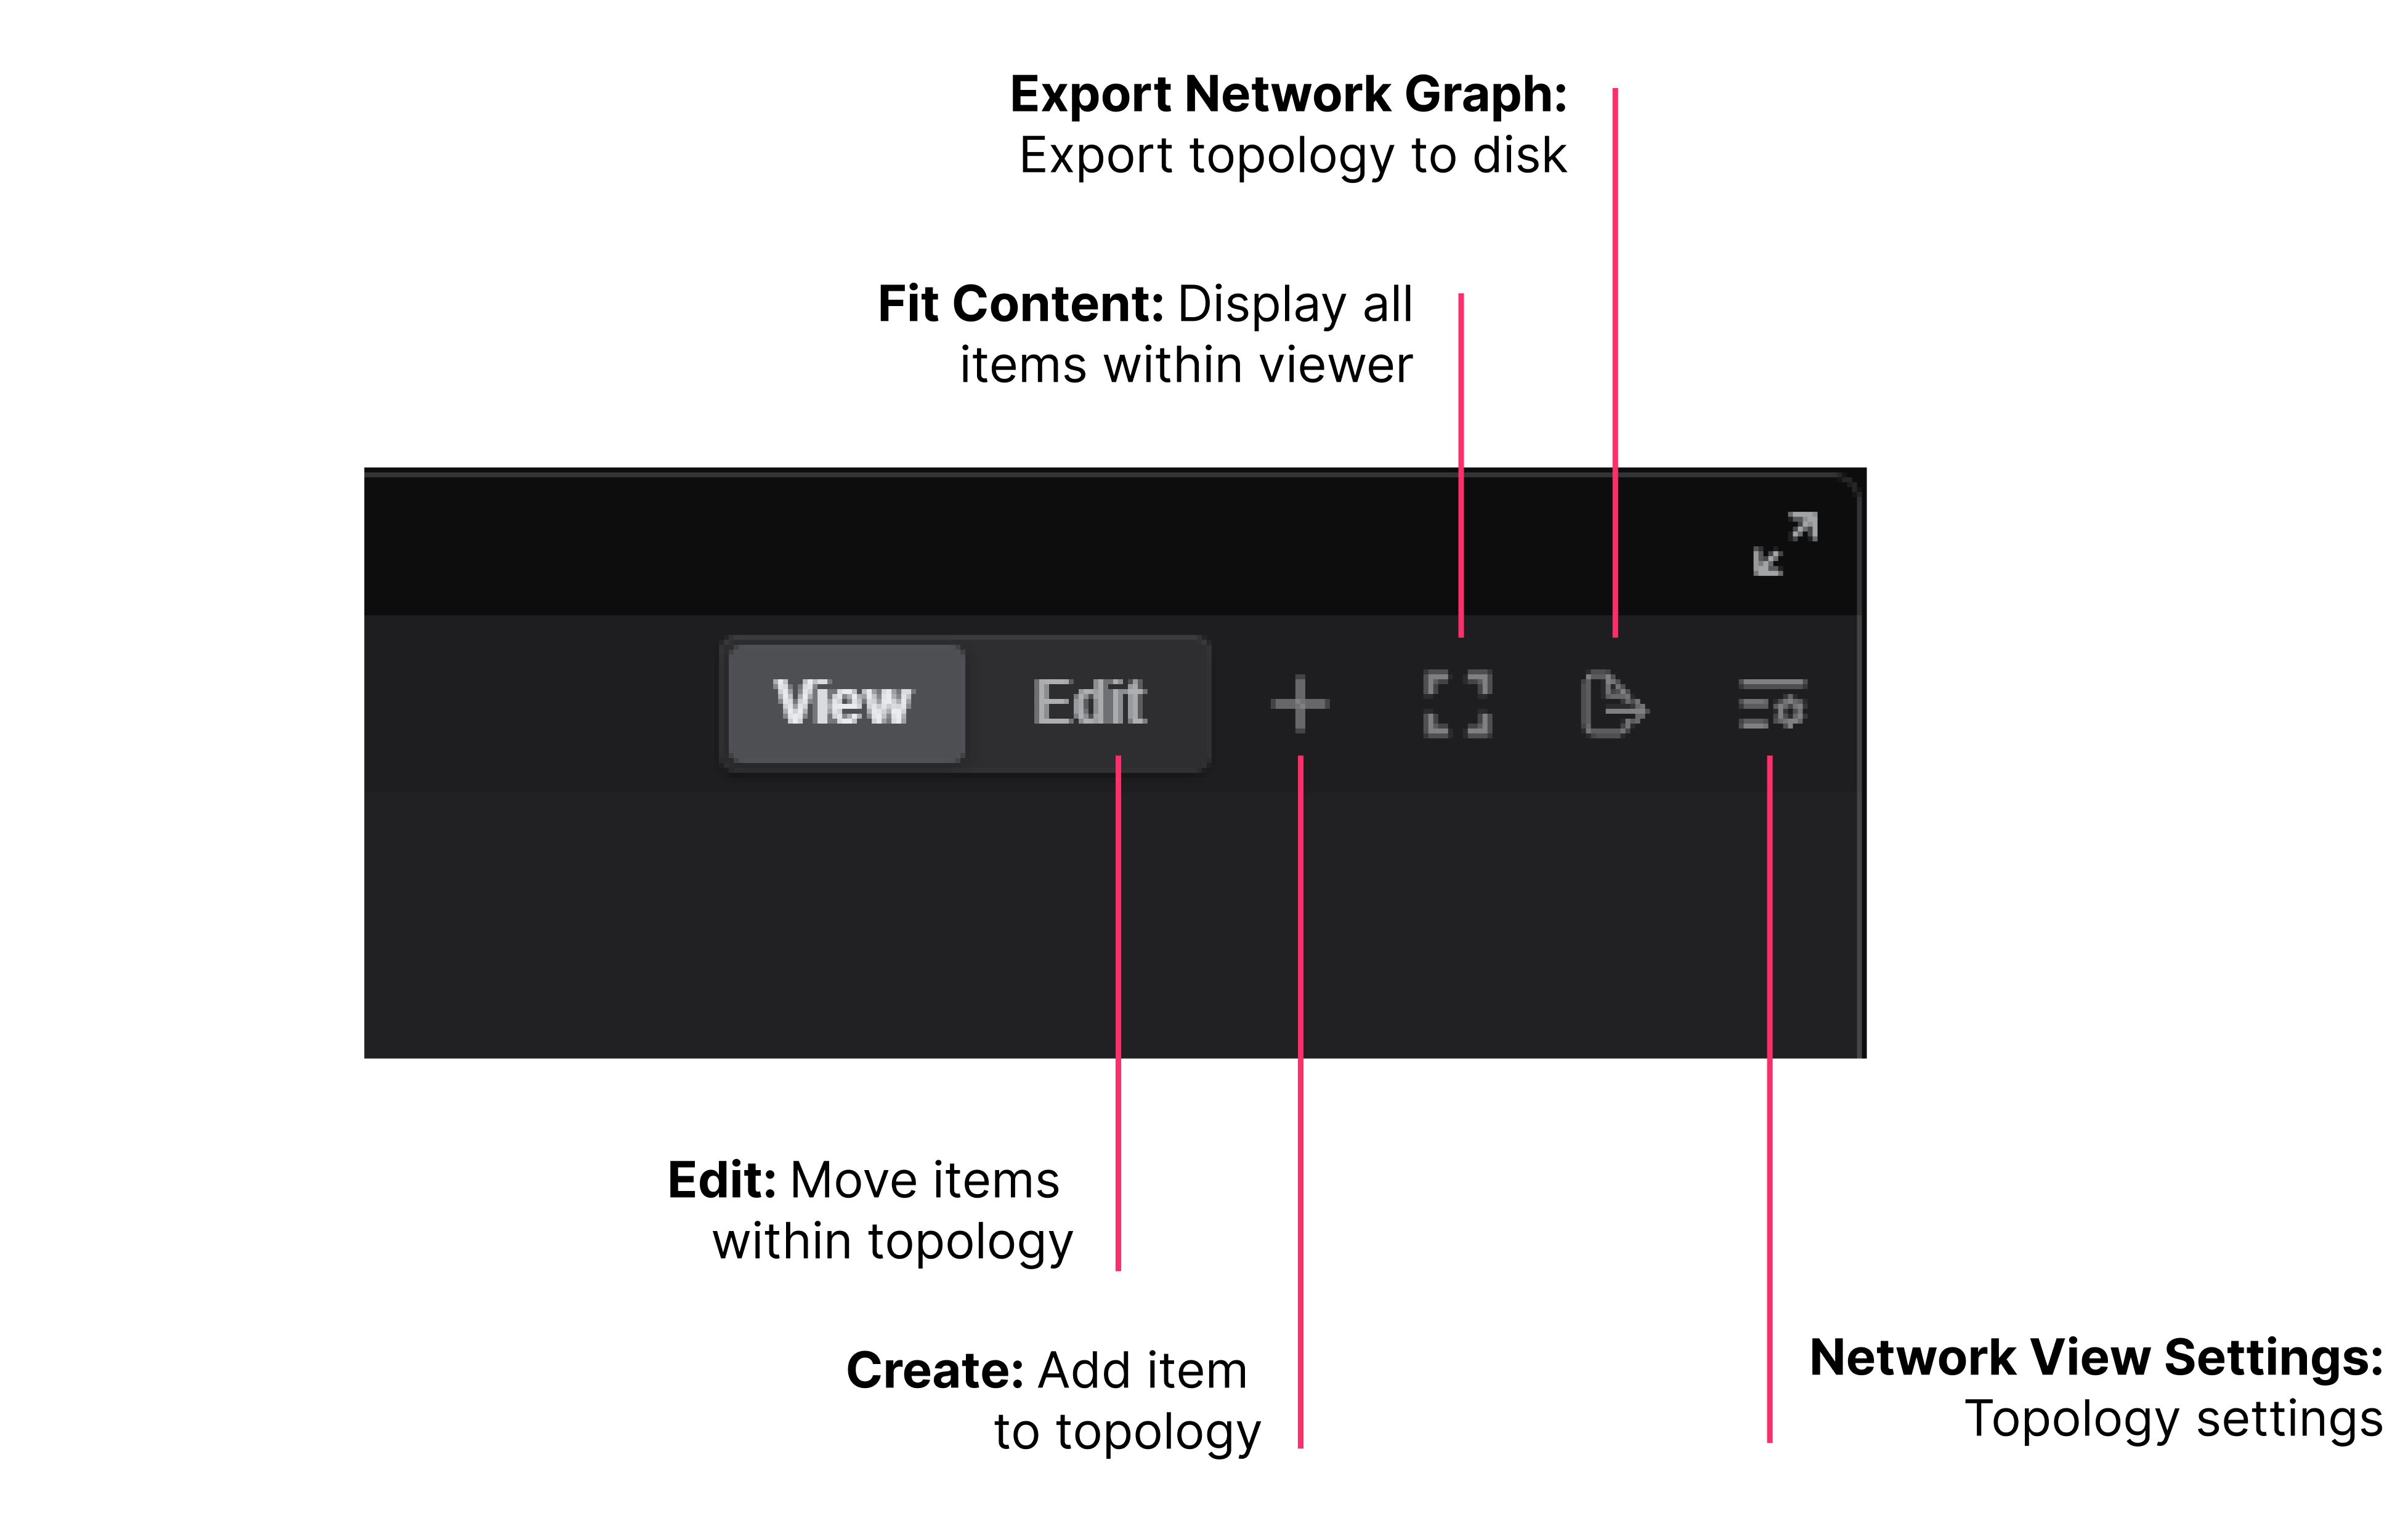
Edit Mode
The Edit button is located at the top of the topology. Selecting this button allows users to manipulate the topology.
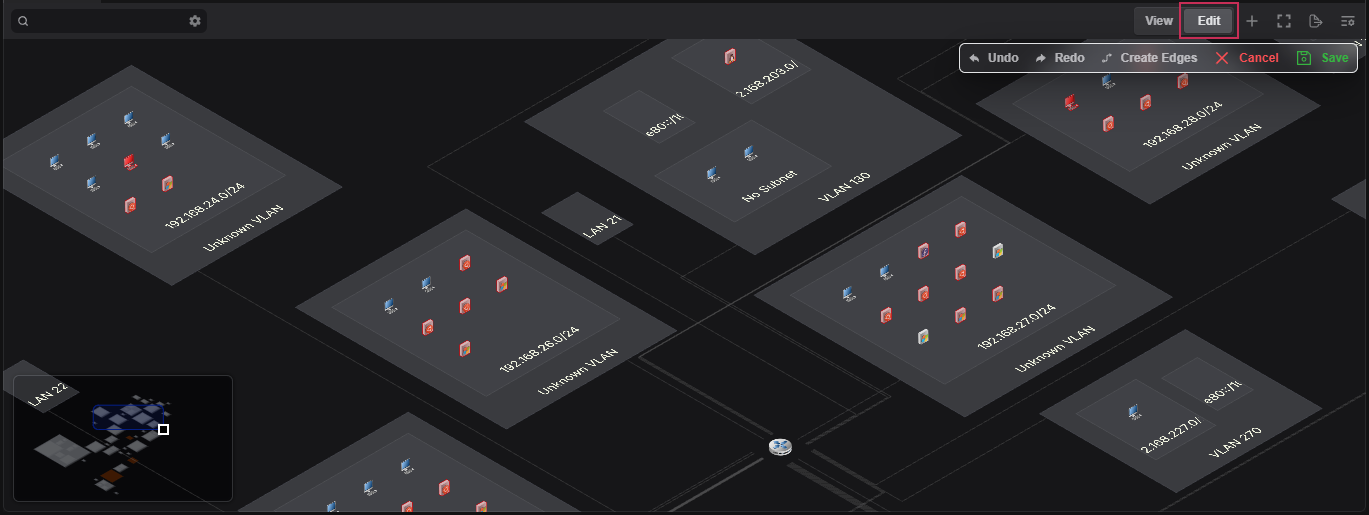
Once in edit mode, hosts and zones can be manipulated.
Moving hosts
- Select the Edit button.
- Left-click on the desired host.
- Drag the host to the desired location.
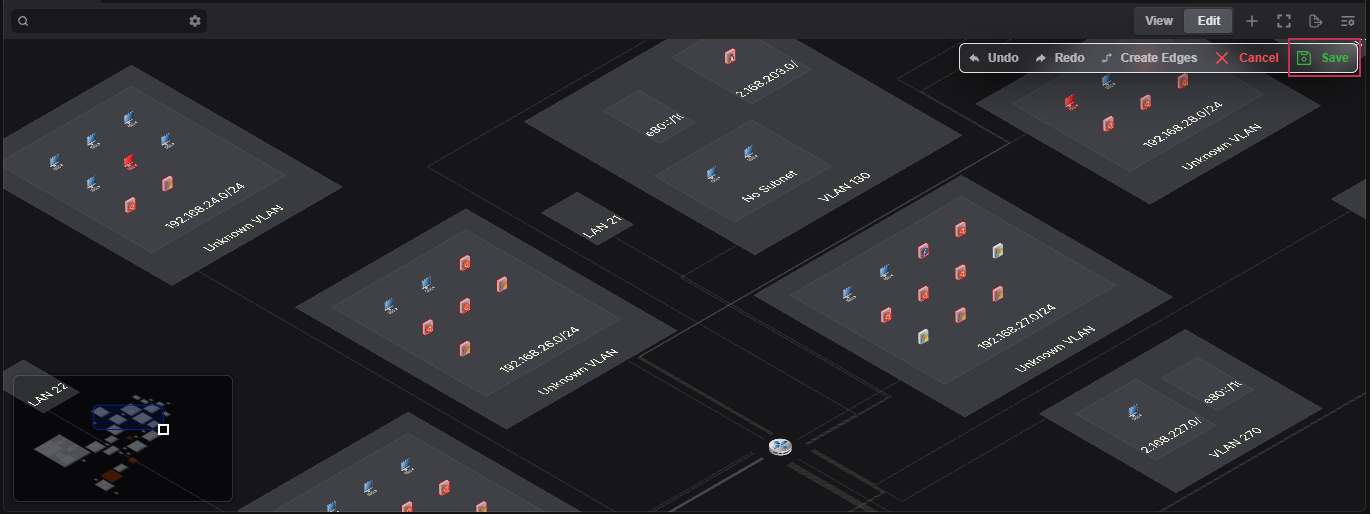
- Click on the Save button to save the new host location.
Moving zones
- Select the Edit button.
- Left-click on the desired zone.
- Drag the zone to the desired location.
- Select the Save button to save the new zone location.
Expanding and collapsing groups
Groups that are uninteresting to the task at hand can be collapsed within the topology to provide a cleaner look and feel. The following groups are expandable/collapsible: VLANs, subnets, and external hosts.
- Select the Edit button.
- Identify the group you'd like to expand/collapse.
- Right-click on the group.
- Select Expand/Collapse Group.
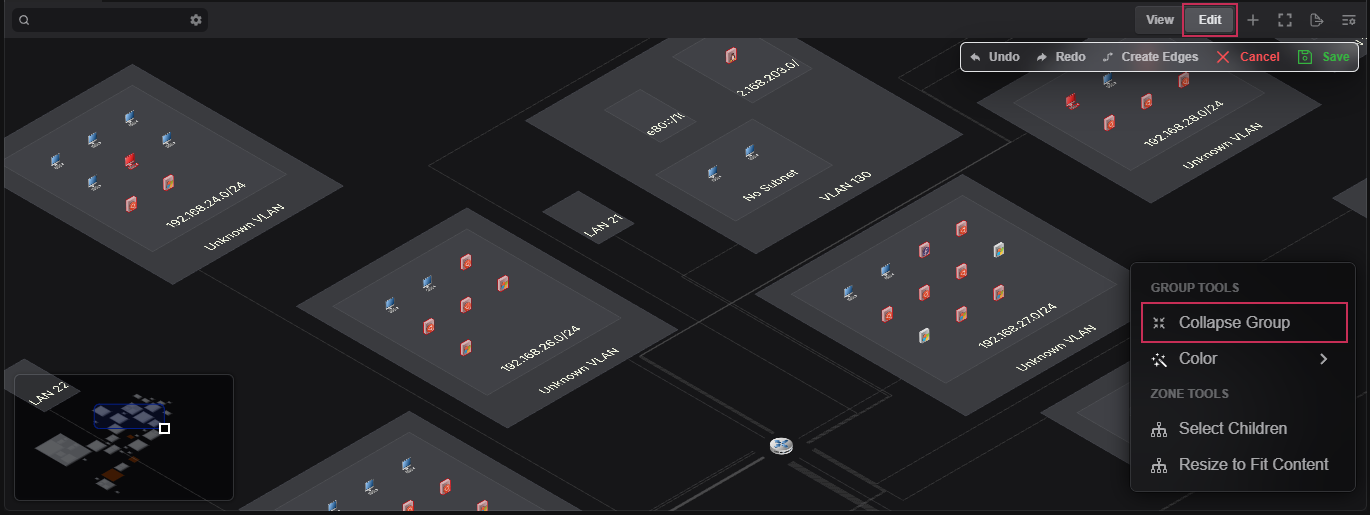
5. Select the Save button.
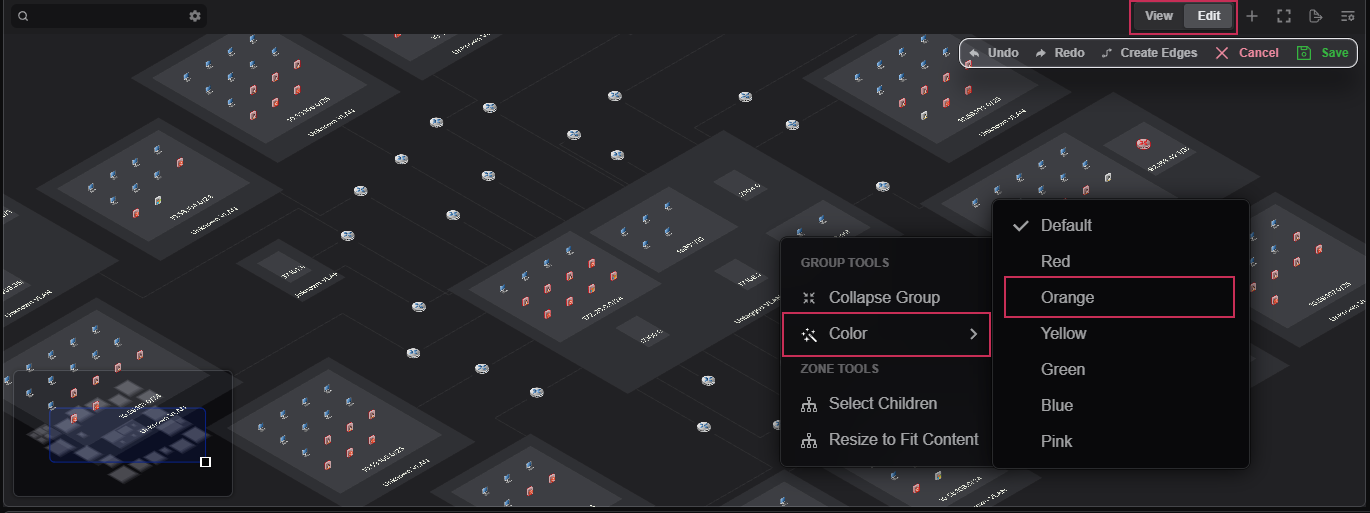
Changing zone colors
To help distinguish one zone from another, users can manually set the color of each zone.
- Select the Edit button from the toolbar.
- Right-click on the desired zone.
- Select the Color option.
- Select the desired color.
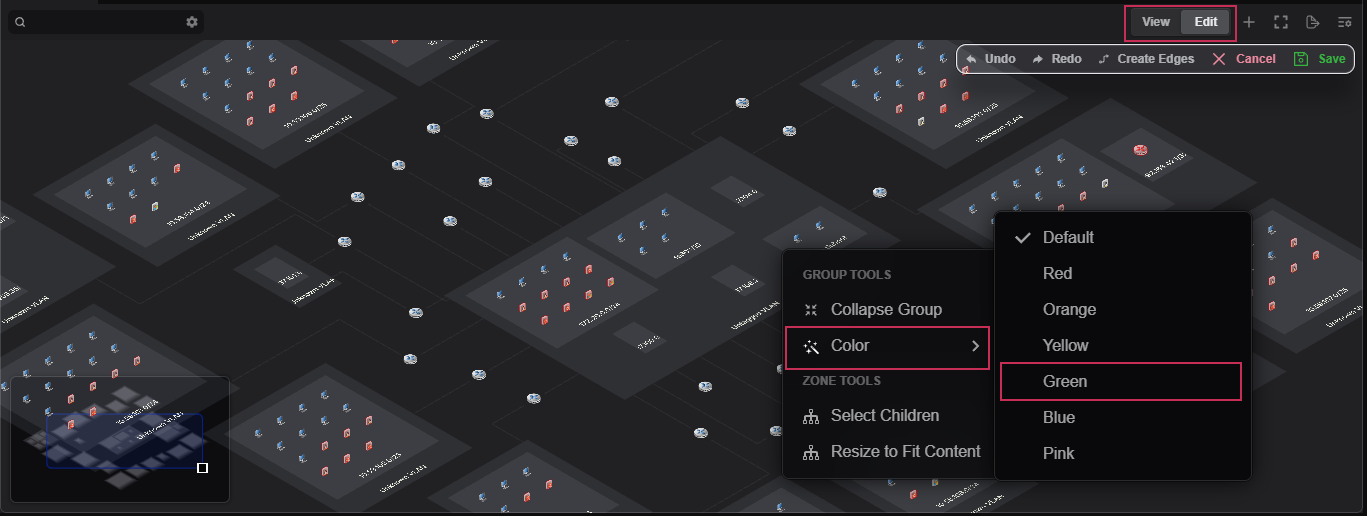
- Select the Save button. The zone will now update its background color.
Network View Settings
Users can display the network topology in several different projects via the Network View Settings button at the top of the topology.
Users can select between two topology projection modes: Flat and Isometric.
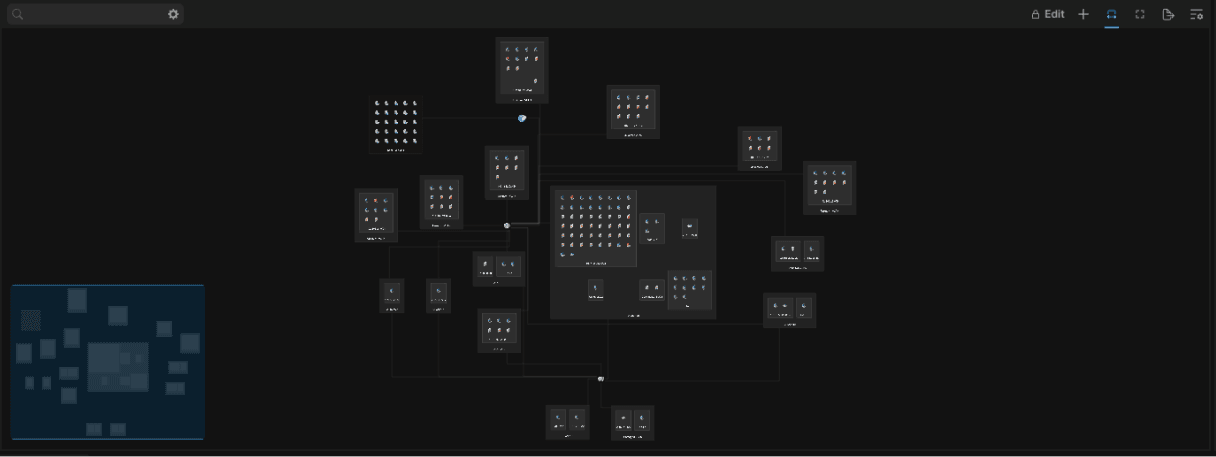
Flat projection
Flat projection mode displays all hosts in a birds-eye type of view. For large topologies, this view may be easier to comprehend.
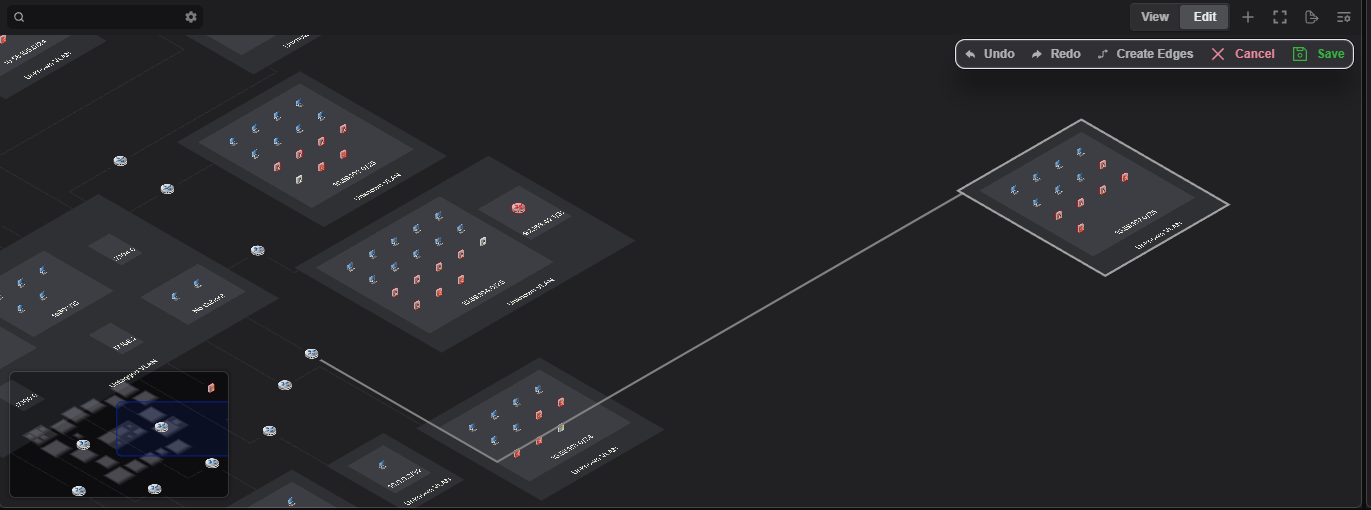
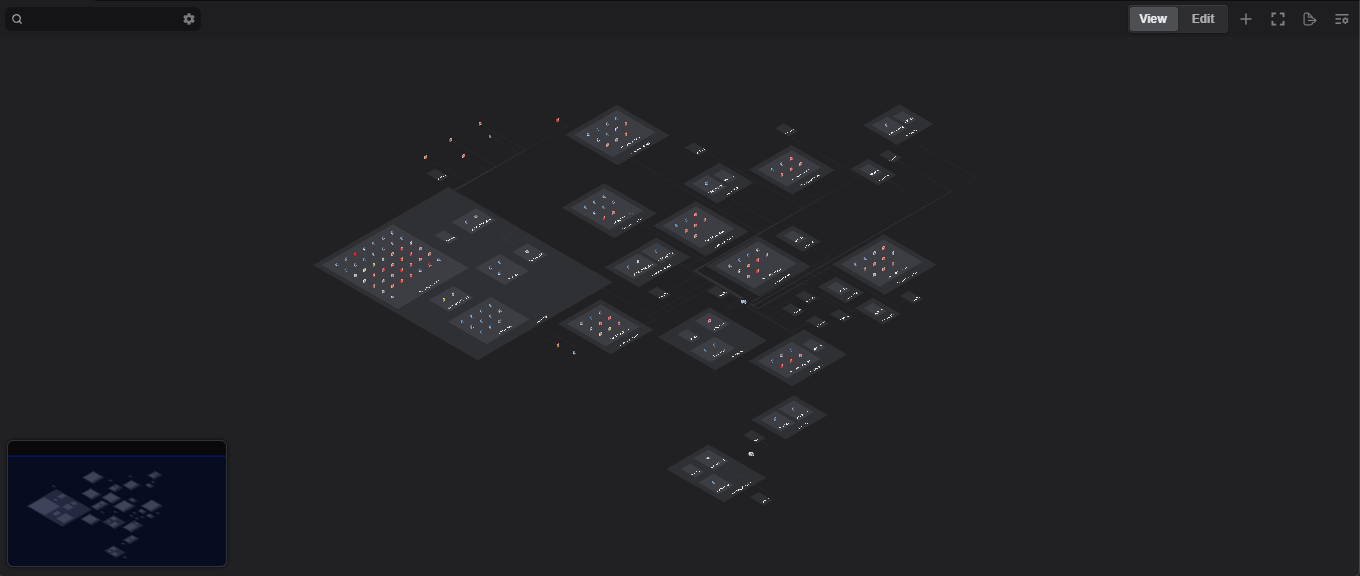
Isometric projection
Isometric projection mode displays all hosts in a two-dimensional isometric plane. This view is ideal when users want to fit a large amount of hosts into a small visual zone.
View Controls
The View Controls section allows users to modify the topology display. Users can display/hide the grid as well as display/hide the minimap. In addition, users on a laptop can enable Trackpad-friendly Scrolling to assist with the maneuverability of the topology.
To display the network tap location, select the Show Network Tap Points option. If the network tap point can be determined by the content within the project, the tap point icon will be displayed, along with edges connecting the next hop zones.
Minimap Size/Position
The minimap is a small interactive replica of topology that allows users to quickly navigate within the topology. The size and the position of the minimap can be set within this panel.
Users can click within the minimap to quickly navigate to the desired topology location.
Users can also drag-select within the minimap to zoom in and out of the topology