Files can be uploaded to Teleseer in several ways, either from the workspace or from within a project using the Uploads tab.
Workspace Uploads
You can upload files from the workspace using drag and drop, the Uploads panel, or during project creation.
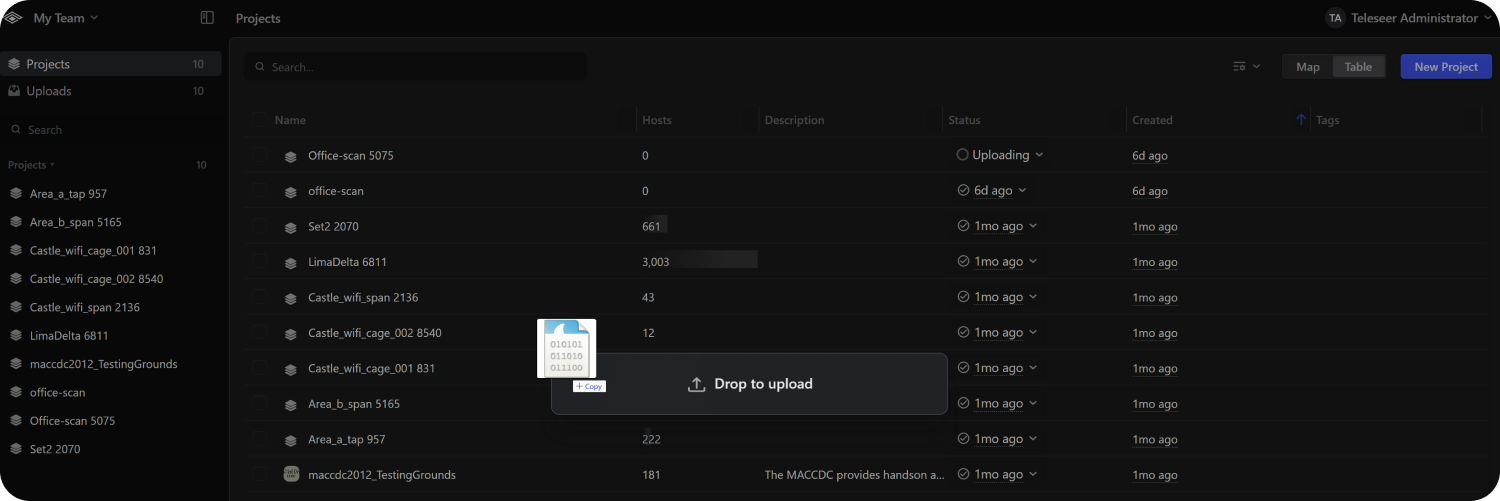
Drag and Drop
Files can be uploaded by dragging them directly onto the workspace.
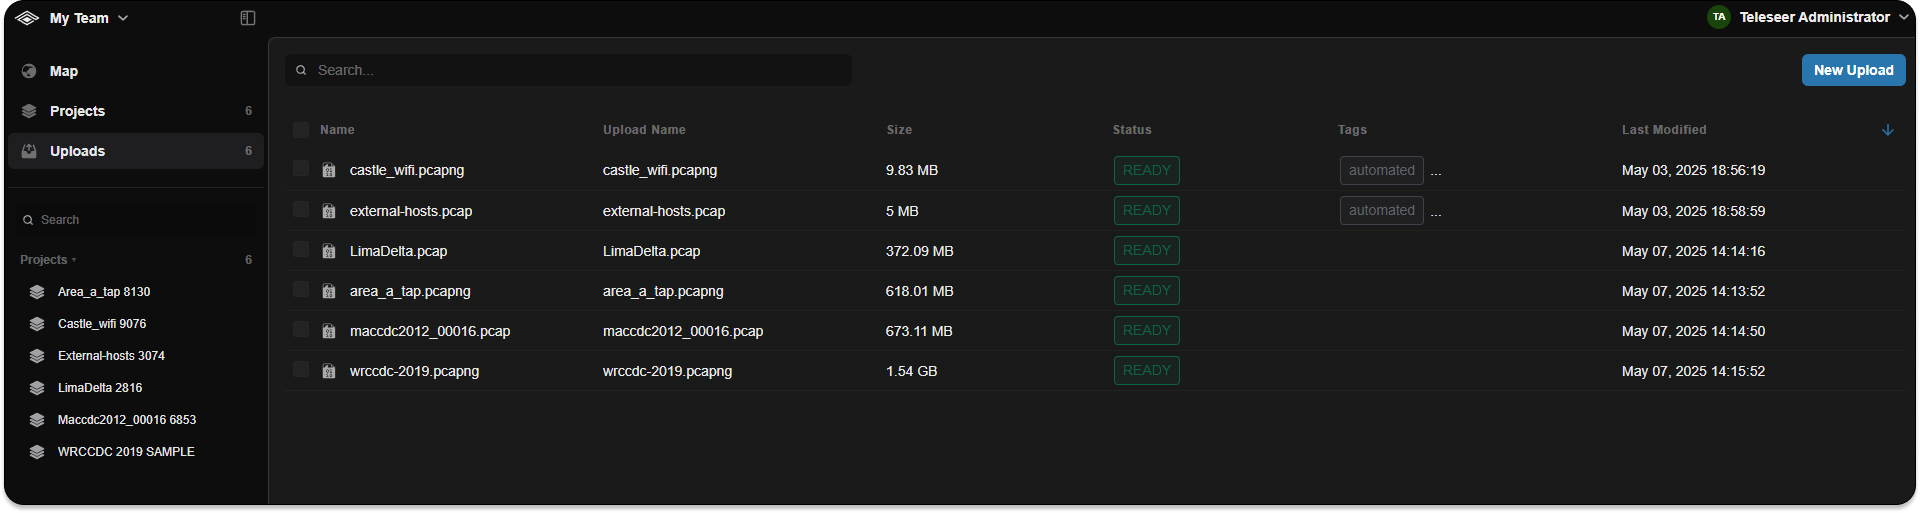
Uploads Panel
The Uploads panel displays all files uploaded to the current tenant. When a file is uploaded from this panel, a project is automatically created.
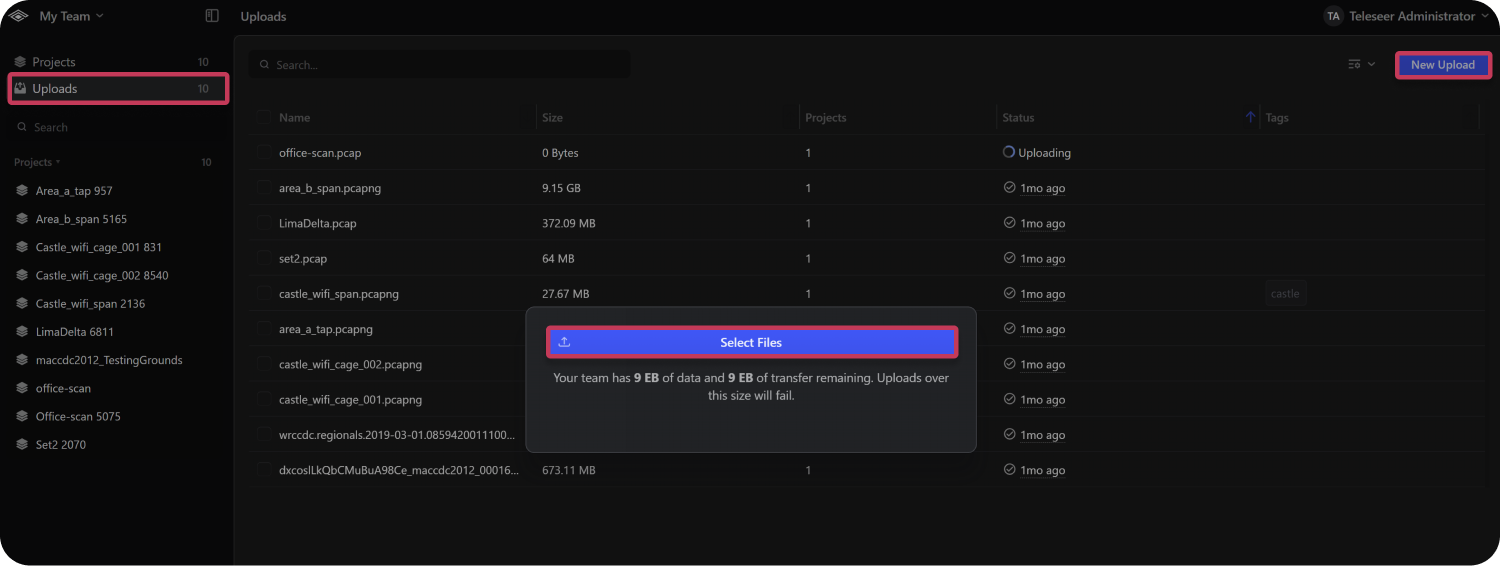
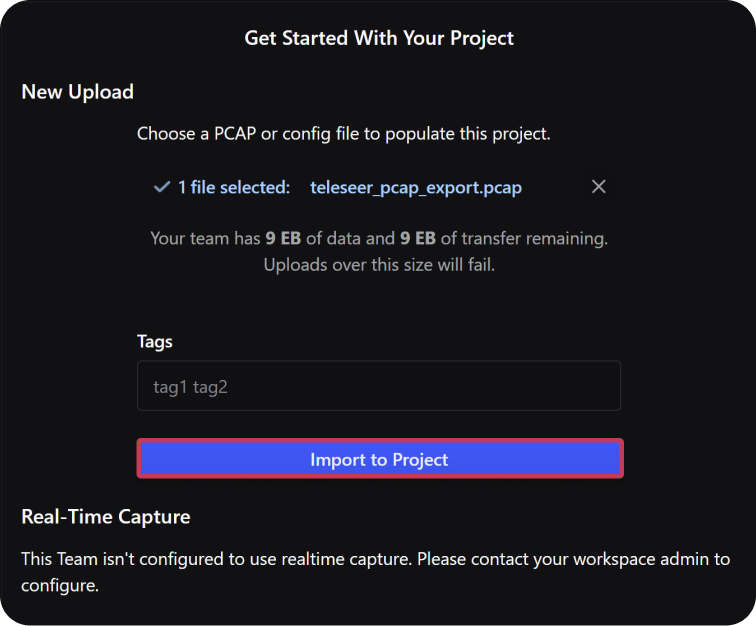
New Upload Button
- Navigate to the Uploads panel in the workspace.
- Select New Upload ➜ Select Files.
- Enter a Project Name and add any desired upload Tags.
- Select Start Upload.
Upload During Project Creation
Files can also be uploaded while creating a new project.
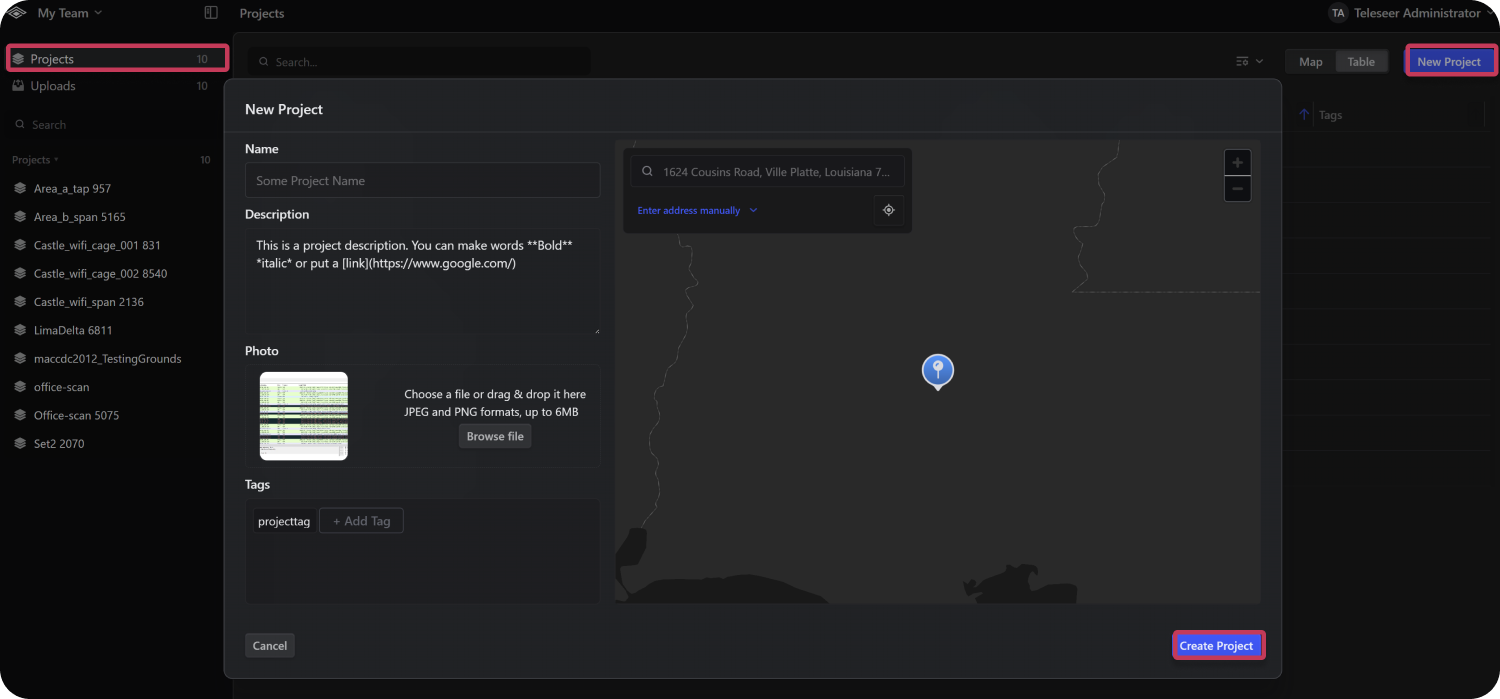
- Navigate to the Projects panel in the workspace.
- Select New Project.
- Enter a Project Name, Description, Photo, Location, and any desired project Tags.
- Select Select Files and add any desired upload tags.
Note: The project description field supports Markdown
Uploading Files in a Project
Files can be added to an existing project using the Uploads tab.
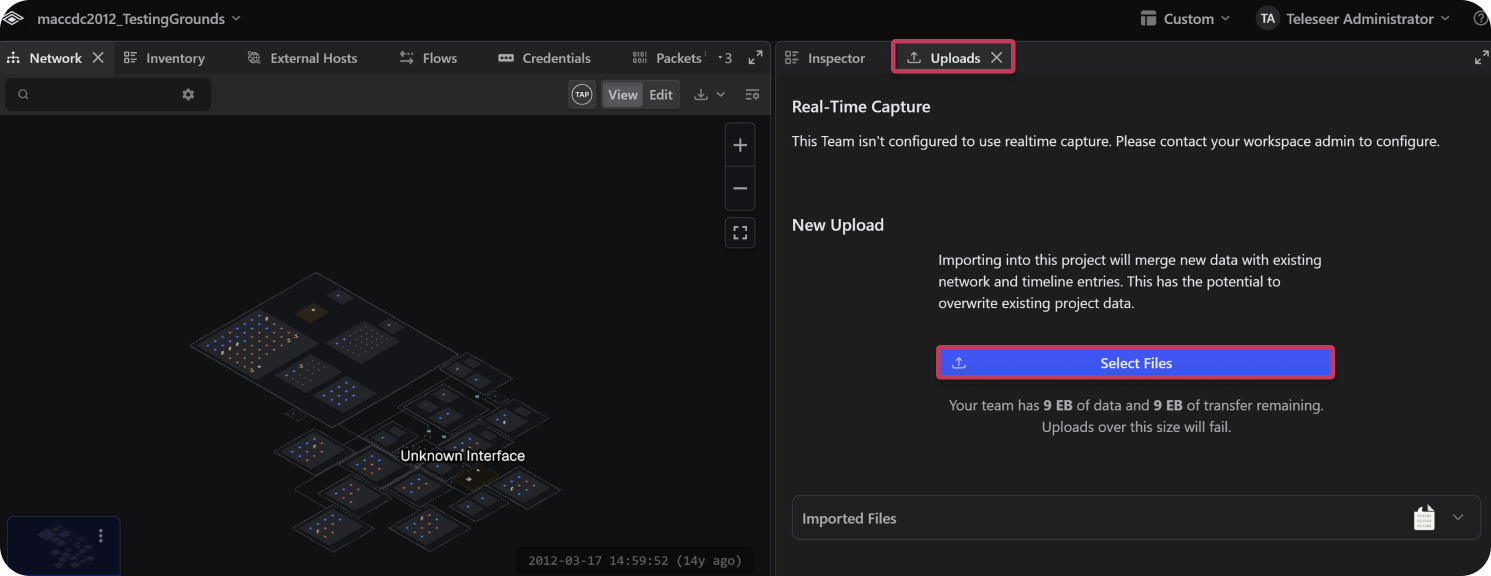
- Open the project you want to add files to.
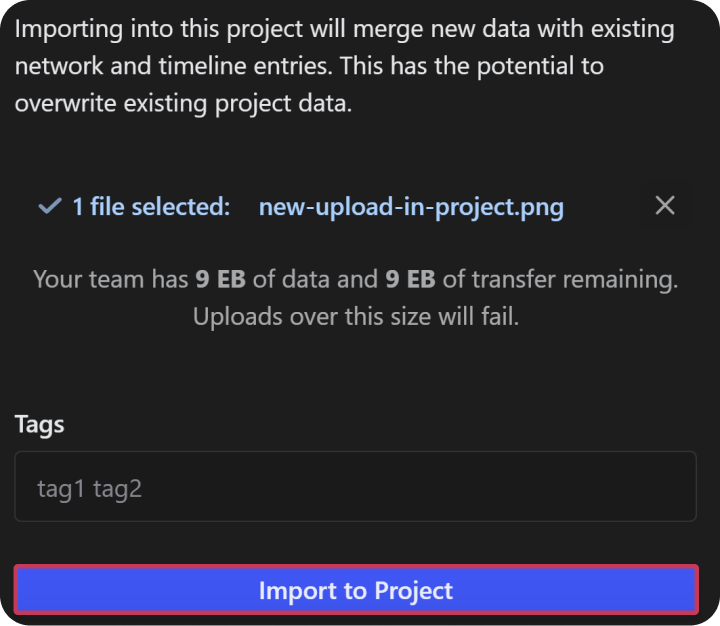
- Select Uploads ➜ Select Files.
- Choose the file and add any desired upload tags.
- Select Import to Project.
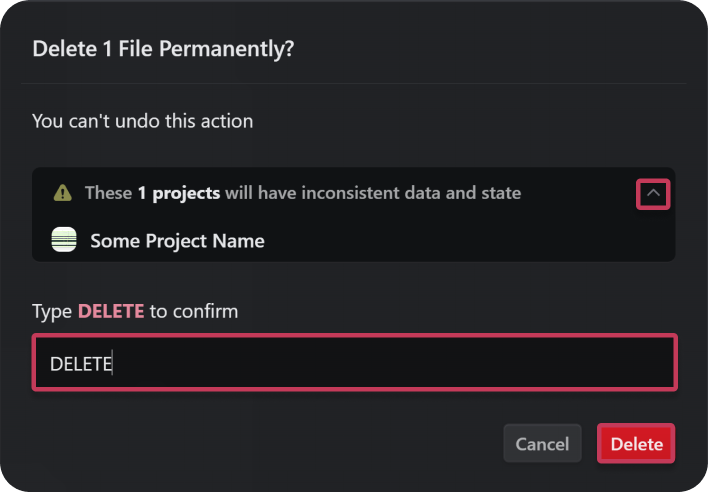
Deleting Uploads
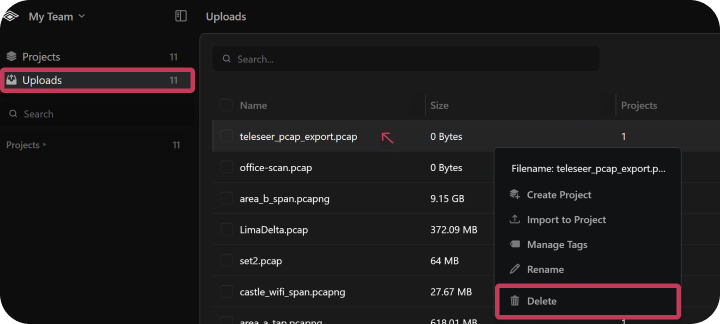
To Delete a Single Upload:
- In the workspace, select Uploads.
- Click the row of the file you want and select Delete.
- Review the caution dialog and select the dropdown.
- Enter the confirmation text.
- Select Delete.
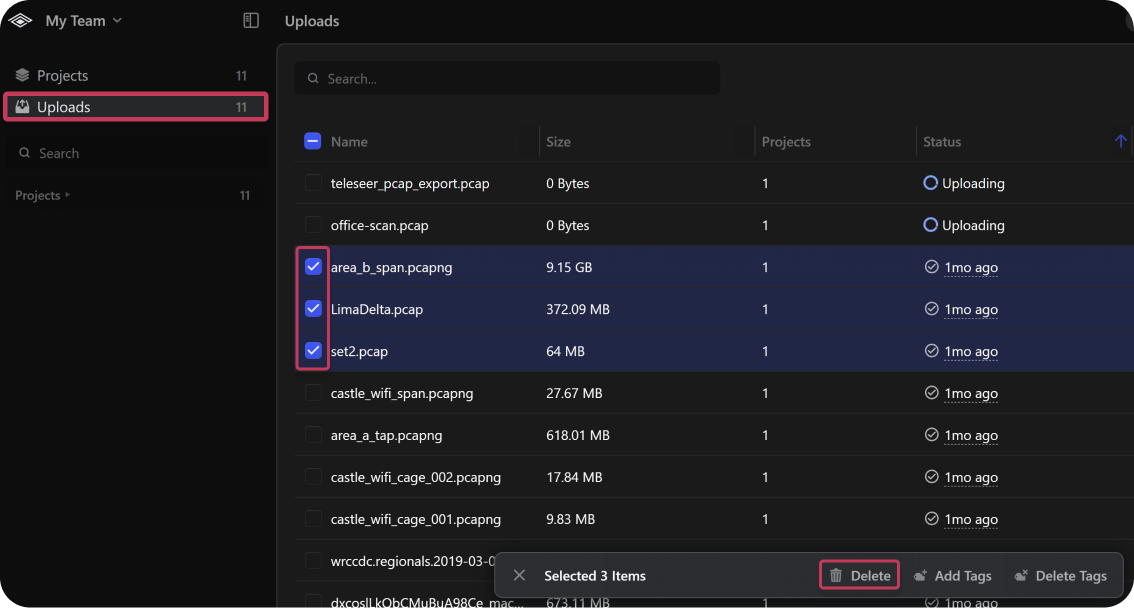
To Delete Multiple Uploads at Once:
- Select the checkboxes of the desired uploads.
- Select the Delete.
- In the Delete Uploads dialog, enter the confirmation text.
- Select Delete.